
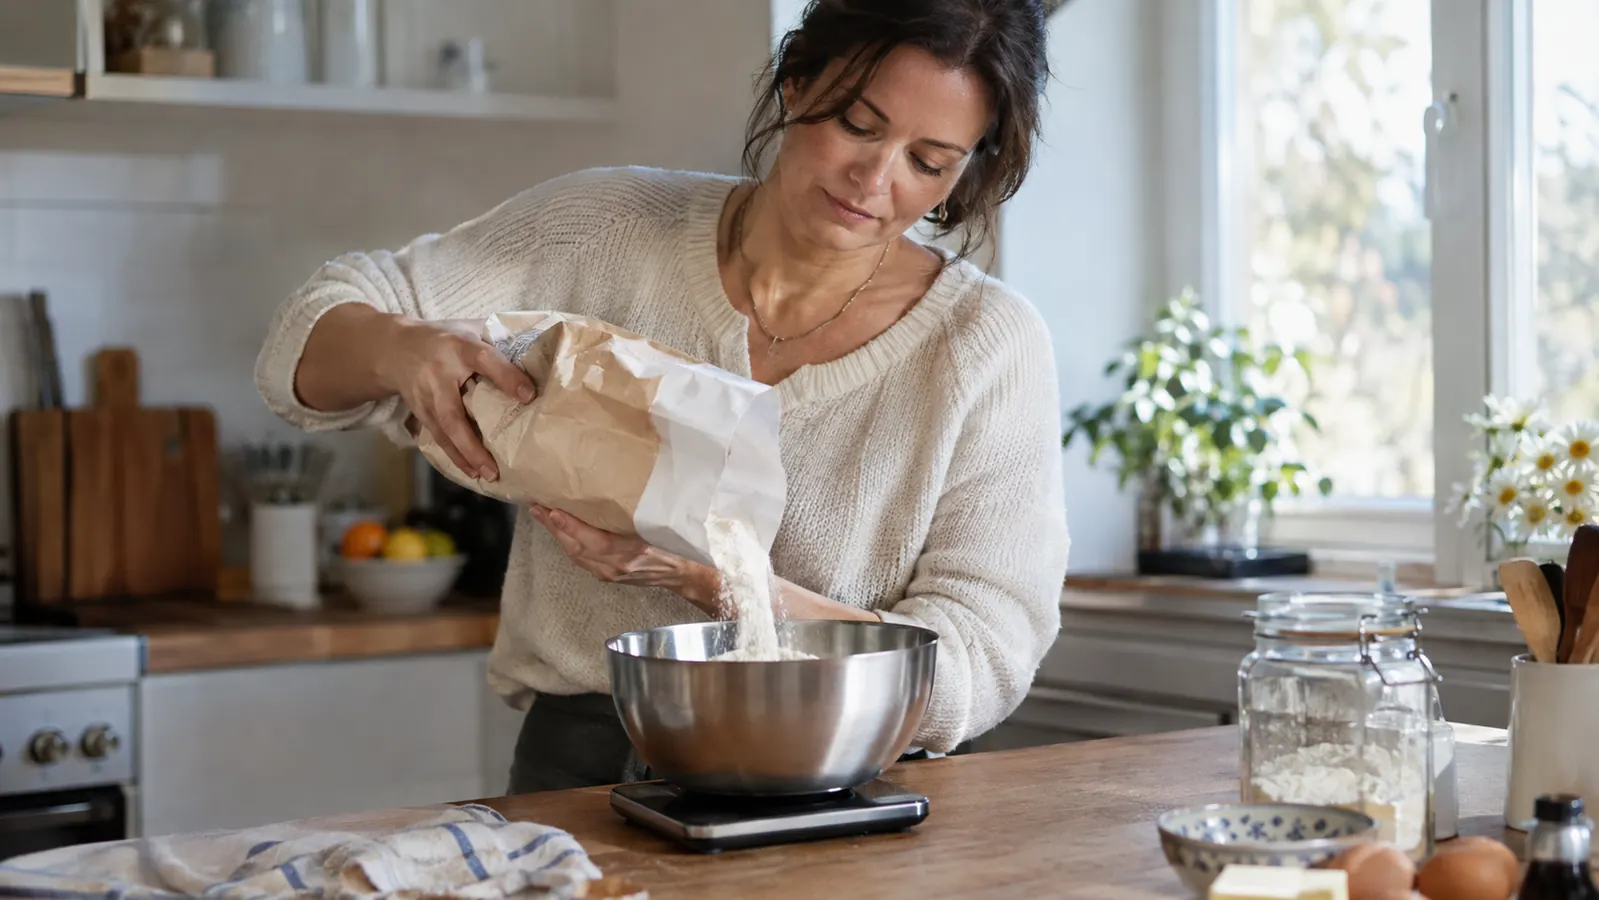
For years I baked the way my grandmother did: a cup of this, a cup of that, a handful of flour when the dough felt sticky. Then I started making bread more seriously, and my loaves kept coming out beautiful on the outside and just slightly off inside. Too dense one week, too slack the next. I blamed the weather, the flour, my oven. And then a friend who actually knows what she's doing asked me a simple question: how much does a cup of flour weigh in your kitchen? I had no idea. The answer started with a digital scale, the Escali Primo, that I bought for myself about a year and a half ago, and it's the reason I'm writing this guide for anyone who wants to make the switch without throwing out their favorite recipes.
The good news is that converting a recipe from cups to grams doesn't require a math degree or a fancy setup. It requires a decent digital scale, a notebook, and about twenty minutes of your time. I've now converted dozens of recipes, from my grandmother's banana bread to the sourdough I make every weekend, and I can tell you honestly: the switch fixed more baking problems than any other change I've made in fifteen years. Here's exactly how I do it, step by step, including all the small mistakes I made along the way so you don't have to repeat them.
The scale I've used for every conversion in this guide
The Escali Primo is the scale on my counter. Two buttons, tare function, reads in 1 gram increments up to 11 pounds, and it has survived a year and a half of daily baking, including a few drops I won't admit to. If you don't own a digital kitchen scale yet, this is the one I recommend.
Amazon Check Today's Price on Amazon →Step 1: Get a scale that reads in grams and has a tare button
You can convert a recipe with any scale that measures grams, but you'll save yourself a lot of frustration if yours has a tare function. Tare is the button that resets the scale to zero with whatever is already on it. That means you can put a bowl on the scale, press tare, add flour, read the number, press tare again, add the next ingredient, and never dirty a second bowl. It turns weighing into a one-bowl operation, which matters when you're baking at 7:00 in the morning before work.
The Escali Primo has exactly two buttons: one for power and one for tare. That's it. No modes to scroll through, no unit toggling I have to look up every time. It reads in 1 gram increments up to 11 pounds, which covers everything I bake, from a single egg to a double batch of cookie dough. The control panel is sealed, so when flour dust settles on it, which it always does, I can wipe it off without worrying about crumbs getting inside. I've owned mine for about a year and a half, and it still reads the same as the day I opened the box.
If you already own a digital scale, even a cheap one, you don't need to buy anything to follow this guide. Just make sure it measures grams and has a tare function. If it doesn't have tare, you can still weigh ingredients one at a time in separate bowls, it's just more dishes. If you're shopping for your first scale, the Escali Primo is a good place to start because it's simple, accurate, and backed by a 5 year limited warranty, which tells me the company expects it to last.
Step 2: Find a reliable conversion for each ingredient
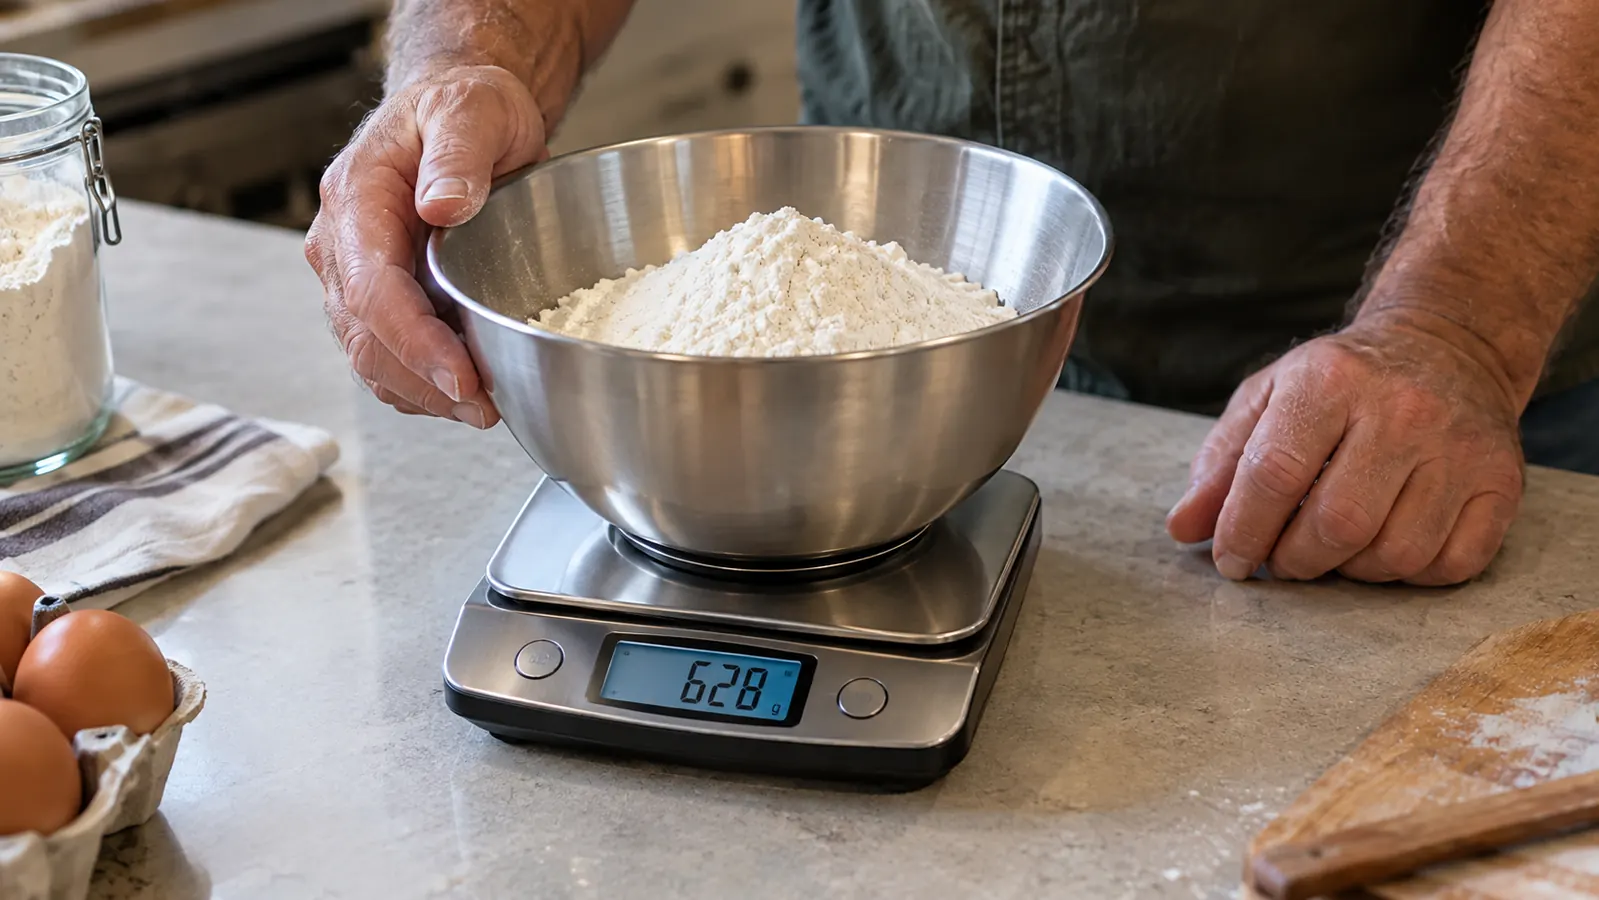
Here's the part most people get wrong, and I got it wrong too at first. A cup of flour does not have one universal weight. A cup of all-purpose flour can weigh anywhere from 120 to 150 grams depending on how it was scooped, how humid the air is, and how long the bag has been open. That's a 25% difference, which is the difference between a tender cake and a tough one. So when you convert a recipe, you need to convert each ingredient individually using a reliable source.
My personal method is to use the conversion chart from King Arthur Baking, because they publish weights for the specific flours they sell, and I've found their numbers to be consistent. But you don't need to use my source. What matters is that you pick one source and stick with it for the whole recipe. If you mix weights from two different charts, you're introducing exactly the kind of inconsistency you're trying to eliminate.
For the most common ingredients, here are the approximate weights I use: 1 cup all-purpose flour, 120 grams; 1 cup bread flour, 126 grams; 1 cup granulated sugar, 200 grams; 1 cup brown sugar, packed, 220 grams; 1 cup butter, 227 grams; 1 large egg, about 50 grams out of the shell; 1 cup milk, 240 grams; 1 cup rolled oats, 100 grams. Write these in the back of your recipe notebook. You will use them constantly.
Step 3: Convert the recipe one ingredient at a time, and write it down
Take the recipe you want to convert and go through it line by line. For each ingredient, multiply the number of cups by the gram weight for that ingredient, and write the gram amount right next to the original. I do this in pencil, because I always change something. If a recipe calls for 2 1/2 cups of all-purpose flour, that's 2.5 times 120 grams, which is 300 grams. If it calls for 3/4 cup of sugar, that's 0.75 times 200 grams, which is 150 grams. You get the picture.
This is also the moment to make small decisions about your recipe. For example, if a recipe calls for one cup of chopped walnuts, I weigh them chopped, not whole. If it calls for a cup of chocolate chips, I weigh them straight from the bag. The rule I follow: weigh the ingredient in the form it goes into the bowl. That's the only way the conversion will be reproducible.
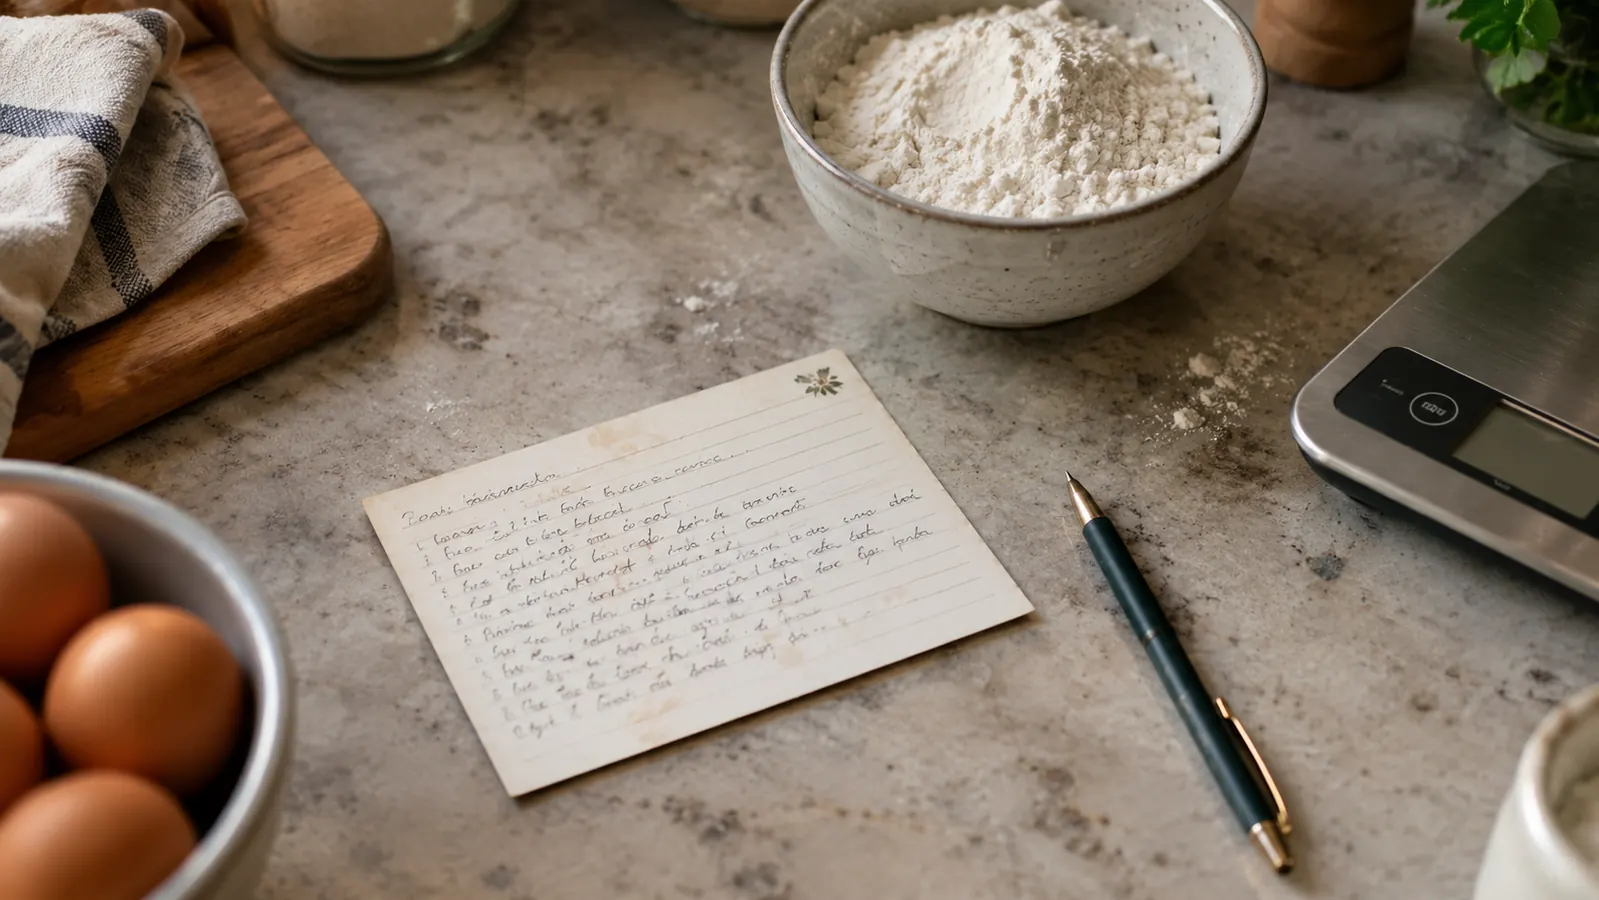
I keep a small notebook in the kitchen drawer for exactly this purpose. When I convert a recipe, I write the converted version on a fresh page with the date, the source of the conversion chart, and any notes about how the bake turned out. Over time, this notebook has become my most valuable baking tool, more than any single pan or mixer. If the bake fails, I can look back and see exactly what I did. If it succeeds, I can repeat it exactly, which is the whole point of weighing.
Step 4: Check your conversions by weighing what you normally scoop
Here's the step I wish someone had told me about when I started: don't trust the conversion chart blindly. Verify it against your own measuring habits. Scoop a cup of flour the way you normally do, level it off, and weigh it. If your usual scoop comes out to 135 grams and the chart says 120, you now know something important: your old recipes were always using 135 grams of flour per cup, not 120. That's useful information, because it tells you what your recipe was actually built on.
When I did this for the first time, I discovered that my scooped cup of flour was about 128 grams, higher than the 120 gram standard. That explained a lot. My grandmother's recipes had been developed with a heavy hand, and when I followed them with the same heavy hand, they worked. When I tried to be precise with a lighter scoop, they came out dry. The scale didn't just convert my recipes, it explained why they behaved the way they did.
This is also a good time to check your scale's accuracy with something you know the weight of. A stick of butter from a standard four-stick package is 113 grams in the US. Put it on the scale and see what it reads. Mine reads 113 grams every time, and it has for the year and a half I've owned it. That quick check takes ten seconds and catches most scale problems before they ruin a batch of dough.
Step 5: Bake with the converted recipe, take notes, and adjust
The first time you bake a converted recipe, expect it to be a test run, not a final performance. Weigh everything, follow the converted amounts, and write down what happens. Did the dough feel different from usual? Did it spread more or less? Did it bake faster or slower? All of that is data. The scale gives you a stable foundation, but your oven, your pans, and your kitchen are still specific to you, so the first conversion is rarely perfect.
When I converted my grandmother's banana bread, the first attempt came out slightly denser than I remembered. I checked my notes and realized the original recipe called for three mashed bananas, which I had always interpreted as three medium bananas. When I weighed them, they came to 360 grams. The next time I made it, I adjusted to 330 grams and the texture came out exactly right. That kind of fine-tuning is only possible when you're weighing, because you can see the number and change it deliberately.
This is the step where the scale earns its place on the counter. Once you've converted a recipe and adjusted it once, you never have to guess again. You can make that banana bread in January and in July, at sea level or at altitude, and it will come out the same every time, because 330 grams of banana is 330 grams of banana. That consistency is the real reason professional bakers weigh everything, and it's available to any home baker with a decent scale and a little patience.
What Else Helps
A few things made the switch easier for me. First, a bowl that fits comfortably on the scale platform. My stainless steel mixing bowls work perfectly, but a very wide, shallow bowl can be awkward. Second, a small offset spatula for leveling flour in the bowl and scraping the last bit of dough out. Third, a digital timer, though I'll admit my phone works fine in a pinch. And fourth, patience. Converting a recipe takes about twenty minutes the first time, but you only do it once per recipe, and the payoff is every future bake coming out the way you intended.
I'll also say this: you don't have to convert everything at once. Start with one recipe you make often, maybe your weekend pancake recipe or your go-to chocolate chip cookies. Convert it, bake it, adjust it, and live with it for a few weeks. Once you feel the difference in your hands, you'll want to convert the rest of your recipe box. That's exactly how it happened for me, and I've never once wished I'd kept measuring with cups.
It's also worth knowing that the scale's 11 pound capacity covers more than baking. I've weighed packages for shipping, checked portions of meat before freezing, and even weighed a box of envelopes when I wanted to know how many stamps I needed. Escali lists envelopes, food, and packages as the scale's intended uses, and it's nice that one tool handles all of it without me pulling out a second gadget.
The scale didn't just convert my recipes, it explained why they behaved the way they did. That's the part nobody tells you about switching to grams.
Ready to make the switch?
If you don't have a digital kitchen scale yet, the Escali Primo is the one I've used every week for a year and a half. Simple two-button operation, tare function for one-bowl weighing, reads in 1 gram increments, and it's backed by a 5 year limited warranty. Start with one recipe this weekend and see the difference for yourself.
Amazon Check Today's Price on Amazon →