
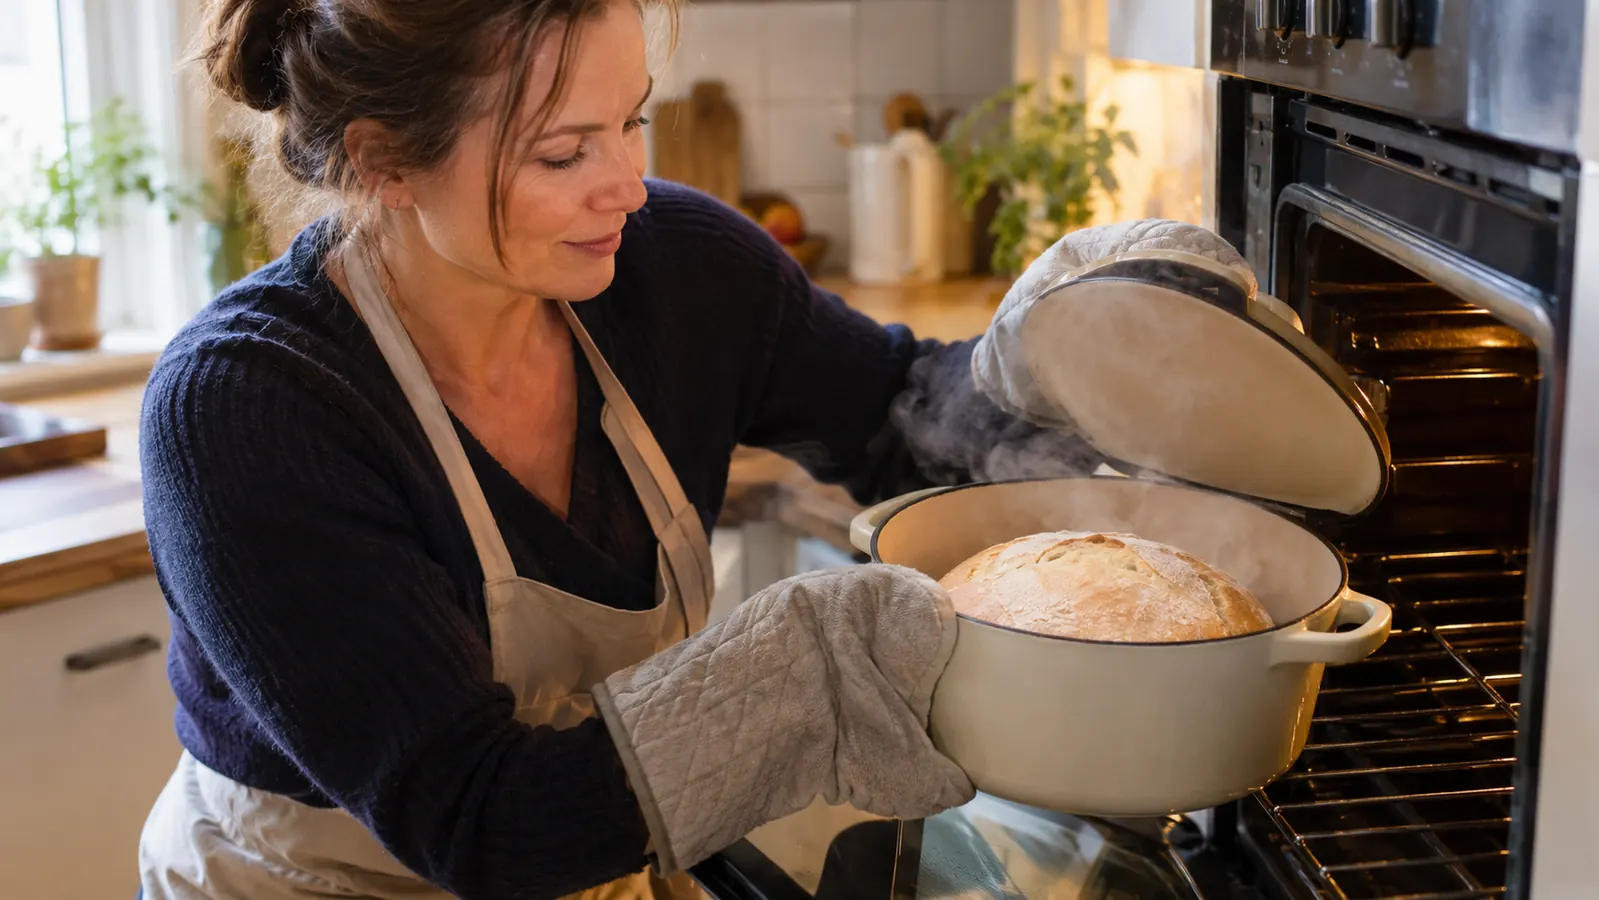
I have a small confession. I used to buy baguettes from the bakery down the street and pretend they were for the rest of the family, but they were really for me. I wanted that shattering crust, the kind that crackles when you press the loaf and sounds like thin ice breaking. And for years, my standard electric oven gave me pale, soft loaves that looked like bread but had the texture of a pillow. I tried everything I read about. I sprayed water into the oven with a plant mister. I tossed ice cubes onto a screaming hot sheet pan. I set a roasting pan of boiling water on the rack below the bread. Some of it helped a little. None of it gave me the crust I was chasing. Then I put my dough inside a covered pot for the first time, the Overmont enameled cast iron Dutch oven, and the crust finally happened.
Here is what I eventually learned about why it worked. Bakery ovens inject steam into the chamber, and that steam keeps the outside of the dough soft long enough for the inside to spring and rise. Then the steam stops, the surface dries out, and you get that crackly shell. A home oven is dry, and it vents moisture constantly. You cannot turn off the vent. But you can put the dough inside a covered pot, and the pot traps the moisture the dough releases on its own. That trapped steam does the same job as a bakery steam injector. This is the method I have used every baking week for the past two years, and it works in my ordinary kitchen with one standard electric oven. The pot I reach for every week is the Overmont, 5.5 quarts, round, rated to 500 degrees Fahrenheit.
The Pot That Fixed My Home-Oven Crust
The Overmont enameled cast iron Dutch oven, 5.5 quarts, round, rated to 500 degrees. It traps steam, holds heat evenly, and goes from oven to table. This is the pot I have baked every loaf in for two years.
Amazon Check Today's Price on Amazon →Step 1: Make a Simple Dough the Night Before
You do not need a bread machine, a stand mixer, or a proofing drawer. You need flour, water, salt, and a little yeast. My standard loaf is 500 grams of bread flour, 375 grams of water at room temperature, 10 grams of salt, and about 2 grams of instant yeast. That is a fairly wet dough, around 75 percent hydration, and it is more forgiving than you would expect. Wet doughs are harder to shape, but they make a more open crumb and a thinner, crisper crust.
Mix everything in a big bowl until no dry flour remains. It will look shaggy and rough, and that is exactly right. Cover the bowl and let it sit for twenty minutes, then come back and give the dough a few stretch-and-folds. I do this three or four times over the first couple of hours. Then I cover the bowl and let it rise overnight in the cool part of my kitchen. By morning it has doubled and smells faintly sour, the way good bread dough should.
I want to be honest about the timing, because the first time I tried this I thought I had done something wrong. The dough will not look dramatic. It will look like a lumpy, bubbly mess, and that is what you want. The long, slow rise is what develops flavor, and it is also what makes the bread easier to digest and keeps it fresh longer. If your kitchen is cold, the rise takes longer. If it is warm, it goes faster. The dough does not care about the clock. It cares about doubling.
Step 2: Shape the Loaf Without Fighting the Dough
Turn the dough out onto a lightly floured surface. It will be sticky, so keep a bench scraper or a wet hand nearby. Gently pull the edges into the middle, a few pulls, not a wrestling match. Then flip it seam side down and drag it toward you on the counter to build surface tension. You are looking for a round, taut loaf, and it does not need to be perfect. Imperfect rounds bake up just as crusty.
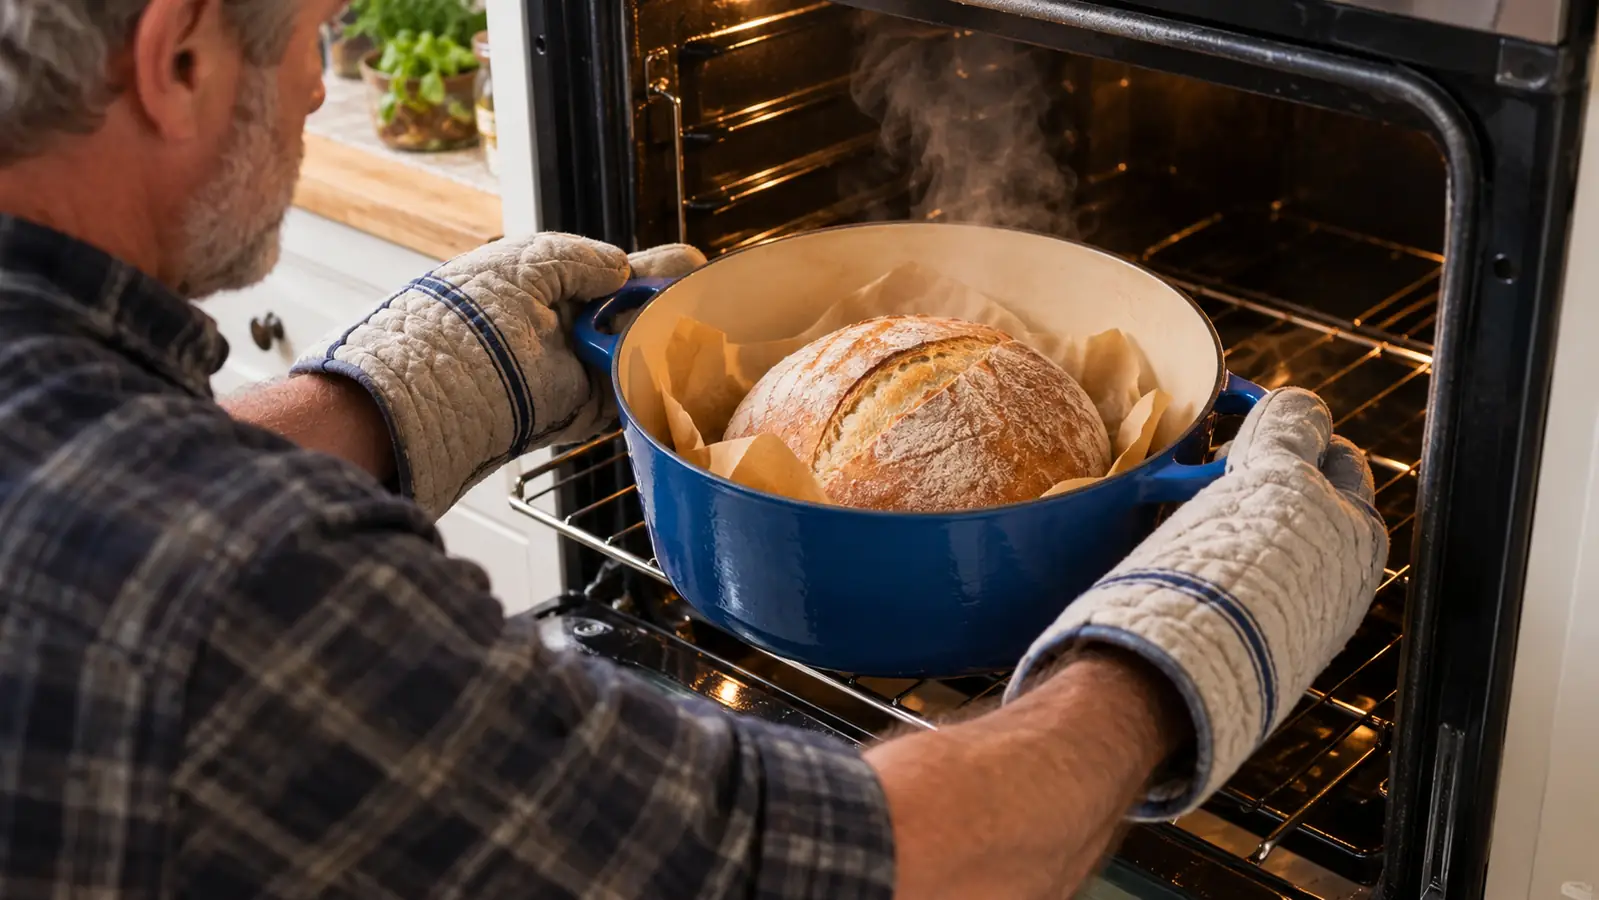
Set the shaped loaf on a piece of parchment paper cut to fit your pot. The parchment makes the transfer from counter to hot pot much less nerve-racking, because you are not trying to pick up a soft, wobbly dough and lower it into a 450-degree pot with your bare hands. You lift the parchment by the corners and let the dough slide in. If it lands slightly off-center, that is fine. It will even out as it bakes.
Cover the loaf with a clean kitchen towel or a large bowl and let it rest for the final rise. This usually takes an hour in my kitchen, sometimes ninety minutes on a cold day. You will know it is ready when it looks puffy and a finger pressed gently into the side leaves a small dent that slowly springs back. If the dent stays, you have let it go a little long, and it will still bake into good bread. This is a forgiving process.
Step 3: Preheat the Oven and the Pot Together
This is the step that makes the crust happen, so do not rush it. Put your Dutch oven in the cold oven with the lid on, and set the oven to 450 degrees Fahrenheit. My Overmont is rated to 500 degrees, so 450 is well within what it handles, and the pot heats up along with the oven. You want the pot screaming hot before the dough goes in. I give mine a full hour. If you have a hotter oven and a dough that likes it, 475 also works, but 450 is where I land most weeks.
The 5.5-quart round pot fits easily in my standard home oven with room to spare around the sides. The round shape matters more than you would think. A round loaf drops into a round pot cleanly, opens up evenly, and bakes into a shape that slices well for sandwiches and toast. A bigger pot would let the loaf spread out flat. A smaller one would crowd it. This size is the sweet spot for a family loaf.
When the oven beeps, I pull the rack out just far enough to take the lid off, and I do it carefully. That pot is heavy and it is holding a lot of heat. The pot holders that came with the Overmont get used every single time here, and the silicone mat goes on the stovetop so I have a safe place to set the hot lid. The recipe book that came in the box sat on my shelf for a week before I opened it, and now I use it constantly.
Step 4: Bake Covered, Then Uncovered
Lower the dough into the hot pot, parchment and all, put the lid back on, and slide it into the oven. Set a timer for 30 minutes. During those 30 minutes, the moisture inside the dough evaporates and rises, hits the lid, and falls back down. That trapped steam keeps the crust soft and glossy while the inside of the loaf springs and rises. When the timer goes off, take the lid off. The dough will have bloomed into a tall, pale dome.
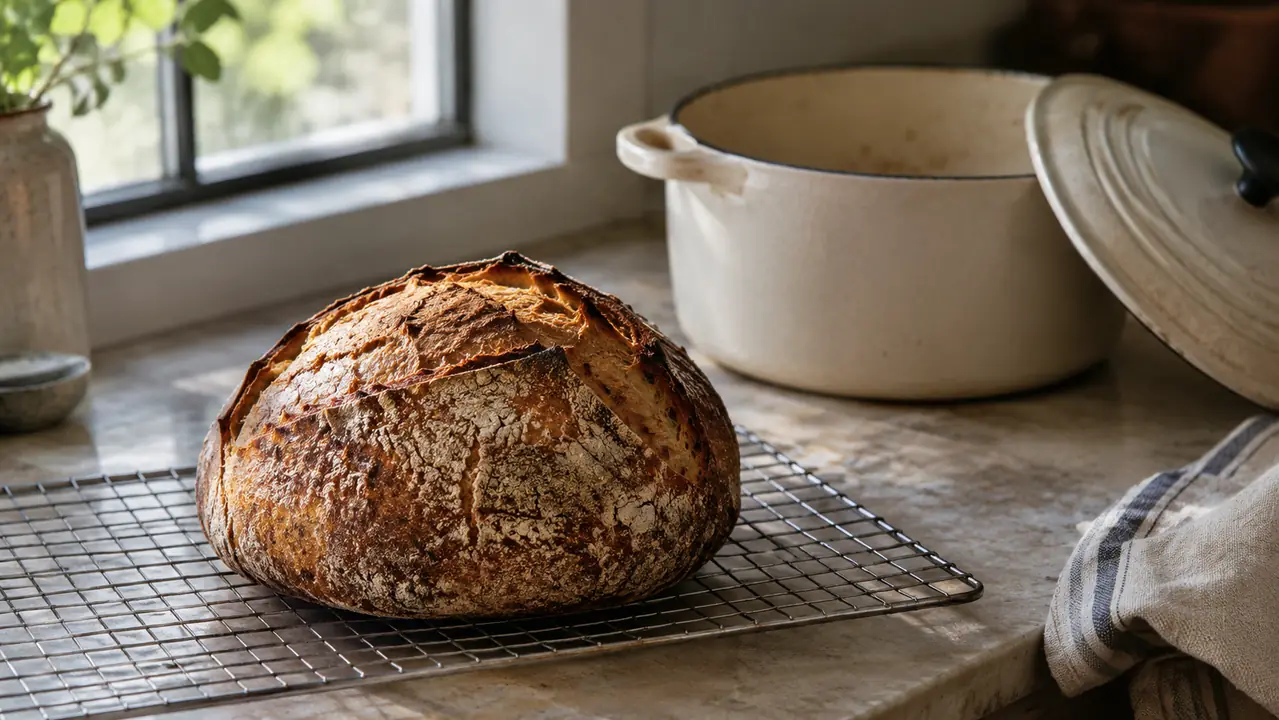
Now the second phase begins. With the lid off, the remaining moisture escapes and the surface of the loaf dries out and darkens. This is where the color and the crackle come from. I bake mine for another 20 to 25 minutes, until the crust is a deep brown and the loaf sounds hollow when I tap the bottom. Every oven runs a little differently. The first time you do this, check at 15 minutes and let it go longer if the crust is still pale.
Take notes the first few times. Write down your oven temperature, the bake times, and how the loaf looks at each stage. Your oven is the one variable I cannot predict from here, and your notes will matter more than any recipe. What I can tell you is that the covered-then-uncovered pattern works in every home oven I have ever used, and it works because the pot does the steam work for you.
Step 5: Cool It Completely Before You Slice
I know the smell. I know how hard it is to wait. But slicing a loaf while it is still warm crushes the crumb and makes it gummy, and you will think you did something wrong when you did not. Let the loaf cool on a wire rack for at least an hour. Two is better. The crust will crackle and sing as it cools, which is one of my favorite sounds in the world. That crackling is the sound of moisture leaving the crust, and it is a sign you did it right.
When the loaf is fully cool, slice it with a serrated knife and listen to the crust shatter. Store it cut side down on the counter, never in the fridge, and use it within a couple of days. Bread this good does not usually last that long in my house. The teenagers eat it before dinner is even on the table.
As for the pot, mine is enameled cast iron, and the care instructions say hand wash only, so that is what I do. A little warm water, a soft sponge, and it looks as good as it did the day it arrived. I dry it fully before I put it away, and I never leave water sitting in it. The silicone mat goes under the pot when I set it on the counter to cool, and the pot holders come out whenever I move it. Take care of enameled cast iron and it will take care of you for years.
Why This Works
The reason a Dutch oven makes better bread than a baking sheet is the lid. When the dough goes into a hot, covered pot, the water in the dough turns to steam and has nowhere to go. That steam surrounds the loaf, keeps the surface flexible, and lets the dough rise to its full height in the first part of the bake. Then, when you take the lid off, the steam escapes and the surface dries into a crust. Two phases, two jobs, one pot.
The Overmont's heavy cast iron also holds heat evenly, which matters more than you might expect. Every time you open the oven door, the temperature drops, and a heavy pot recovers faster than a thin baking sheet. The enameled surface means the dough does not stick, and the 5.5-quart size is big enough for a family loaf without being so big that it hogs the whole oven. It is a simple tool doing a simple job, and it does that job every single week in my kitchen.
What Else Helps
A digital kitchen scale changed my bread more than any other tool. Measuring flour by volume is a gamble, because how you scoop changes how much flour ends up in the bowl. Weighing it, 500 grams is 500 grams every time, and my loaves stopped being a lottery. A bench scraper helps with wet doughs, and a lame or a sharp knife makes the slash on top. None of this is expensive, and none of it is required. The Dutch oven is the one piece of equipment that does the heavy lifting.
The recipe book that came with the Overmont has a good basic loaf in it, and I have baked my way through most of it over the past two years. The pot itself does double duty for soups, stews, and the occasional batch of bread for the school bake sale. If you only buy one piece of baking equipment this year, this is the one I would tell you to get. It is not a one-trick pot. It is the pot I reach for when I want a crusty loaf and a hearty dinner from the same piece of cast iron.
A full hour of preheating, thirty minutes covered, twenty minutes uncovered, and the crust crackles like something from a bakery oven.
Ready to Bake Your First Crusty Loaf?
The Overmont enameled cast iron Dutch oven is the pot I have used every baking week for two years. 5.5 quarts, round, oven safe to 500 degrees, and it handles bread, soup, and everything in between. This is the one piece of equipment I would not bake without.
Amazon Check Today's Price on Amazon →