
Hand kneading is the reason a lot of good intentions about baking bread die on a Tuesday night. I know because I quit on more than one loaf myself. You mix flour, water, yeast and salt, and then the recipe tells you to knead for ten or twelve minutes, and your wrists start complaining around minute four. By minute nine you are pressing the heel of your hand into the dough with the vague hope that it counts. It does count, mostly, but it is also why bread only happened on weekends in my house, when I had the energy left to fight a stubborn ball of dough.
I tried the workarounds. A food processor overworks the dough before you notice it, a bread machine makes a perfectly good loaf but takes up counter space for a single job, and buying bread is fine, but it is not the same as baking it. What finally fixed the problem was letting a machine do the kneading while I did the watching. I bought a KitchenAid Classic Series 4.5 Quart Tilt-Head Stand Mixer for myself about a year and a half ago, and it changed my Tuesday nights more than any other tool in my kitchen. This is how I knead bread dough in it, step by step, including the mistakes I made at first.
The mixer that kneads while your arms rest
The KitchenAid Classic Series 4.5 Quart Tilt-Head Stand Mixer comes with a coated dough hook and 10 speeds, so the kneading happens in the bowl instead of your shoulders. It is the mixer I reach for every baking day.
Amazon Check Today's Price on Amazon →Why the Dough Hook Beats Your Hands
Kneading is just repeated folding and pressing, and a dough hook does that motion more consistently than a pair of human hands ever will. The hook catches the dough, folds it against the side of the bowl, and turns it over at a steady pace, over and over. Your arms do not get tired because they are not involved. The motor does the work, and the 275 watt motor in this mixer has never once slowed down on a dough I have given it.
The other advantage is temperature. Hand kneading warms the dough with body heat, and warm dough rises faster and develops a looser, less even crumb. The mixer kneads at a cooler, steadier temperature, which gives the yeast a slower and more even rise. I noticed the difference in my bread within the first month. The holes were more even, the slices held together better for sandwiches, and the crust had a nicer spring. The same 10 speeds that knead my bread on speed 2 will whip cream at speed 8, so the KitchenAid does not sit idle between bread days.
How I Knead Bread Dough in the Mixer
The whole method comes down to a simple trade. You give the mixer six to eight minutes of low speed kneading, and you get back dough that is smooth, elastic and ready to rise, without a single sore muscle. Here is the exact routine I use, in the order I use it.
Step 1: Mix to Shaggy, Then Let It Rest
I start in the 4.5 quart stainless steel bowl that comes with the mixer. My everyday batch is two loaves' worth of dough, about 900 grams of flour, and it fits comfortably in this bowl with room to spare. I add the water first, then the flour, then salt and yeast on opposite sides of the bowl, and I slide the bowl into place and tilt the head down.
Then I mix on the stir speed, the slowest of the 10 speeds, just until the flour is wet and the dough has come together into a shaggy, ragged mass. This takes about a minute. I do not try to make it smooth here. A smooth dough at this stage usually means the gluten has started developing before the flour has fully hydrated, and that makes the kneading slower later.
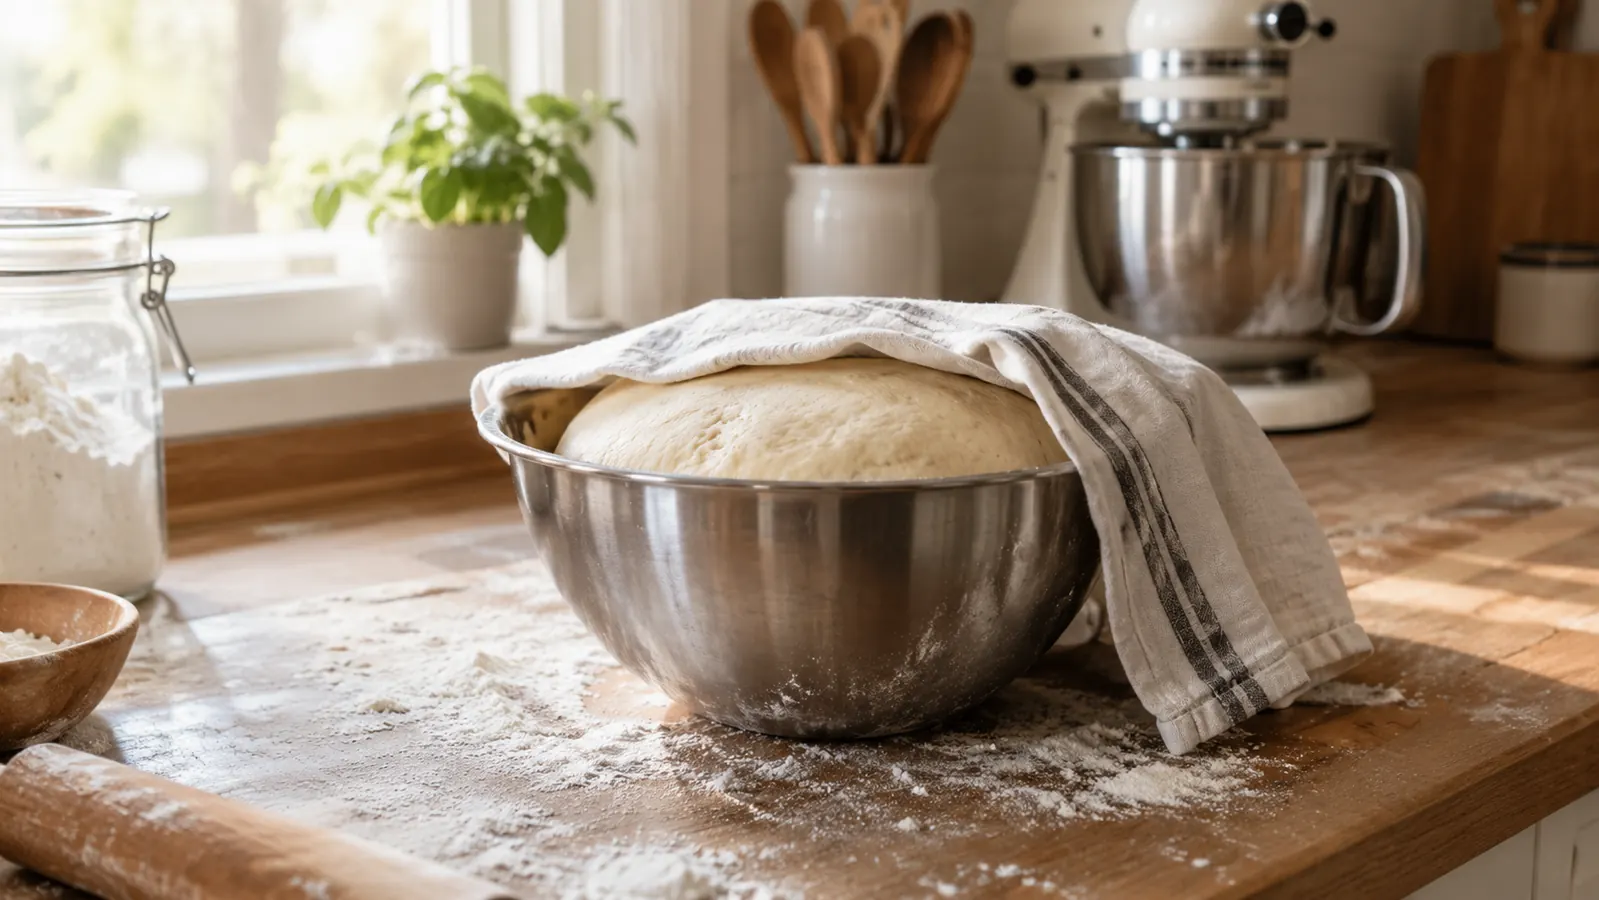
Here is the step most recipes skip: I cover the bowl with a clean kitchen towel and walk away for twenty to thirty minutes. This rest lets the flour absorb the water on its own, which means the dough is less sticky and the mixer does less work. While it rests, I wash the measuring cups and put away the flour. The dough is doing the first part of the job by itself.
Step 2: Knead on Low With the Dough Hook
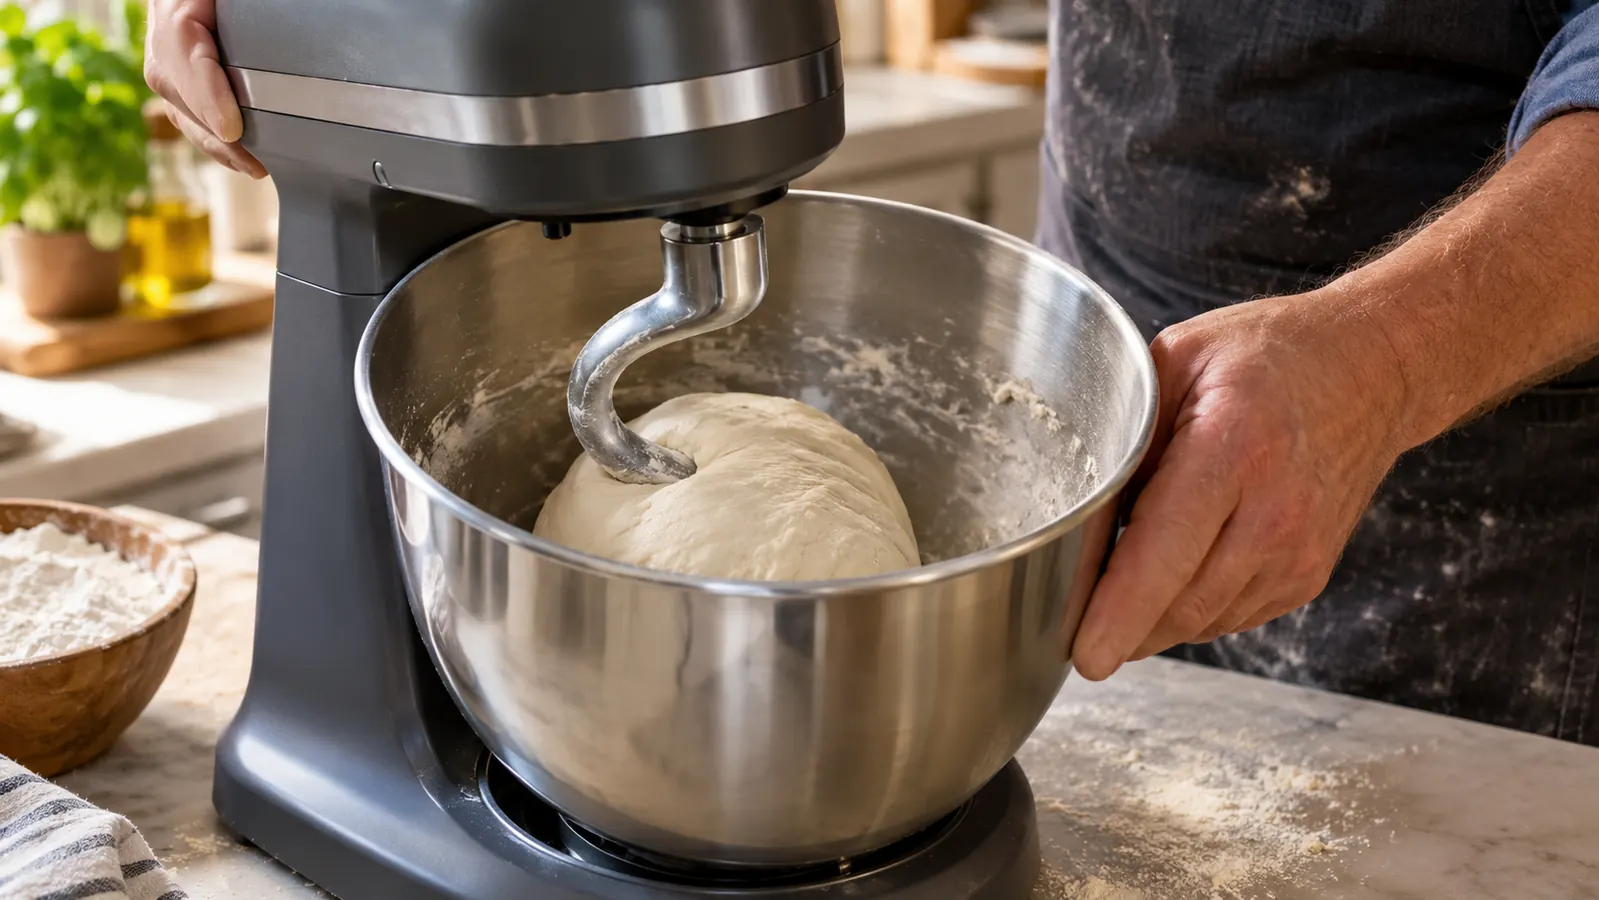
When the rest is over, I snap the coated dough hook into place. This is the piece that does the actual kneading, and it is included with the mixer, which is one of the reasons I chose this model. I turn the mixer to speed 2, the highest speed I ever use for dough. Fast kneading does not make better bread. It makes warm, tough dough and a mixer that walks across the counter.
I let it run for six to eight minutes, and I stay nearby. About halfway through, I stop the mixer, tilt the head up, and scrape the dough off the hook and back into the bowl with a silicone spatula. This is not optional for me. If I skip it, the dough rides up the hook and stops turning, and the mixer keeps spinning against a ball of dough that is not moving.
The tilt head design makes this check easy. I can see into the bowl from above, scrape down, and lower the head again without moving the bowl or the dough. On a 4.5 quart bowl, a two loaf batch stays in the bowl the whole time. I have never had it climb over the rim.
Step 3: Stop at the Windowpane, Not the Clock
The timer is a suggestion. The dough is the truth. After six minutes, I stop the mixer, pinch off a small piece of dough, and stretch it gently between my fingers. If it stretches into a thin, translucent sheet without tearing, that is the windowpane test, and the dough is done. If it tears, I run the mixer for another minute and test again.
This is the step I got wrong for the first few weeks I owned the mixer. I trusted the recipe time and pulled the dough at eight minutes, and my loaves were dense because the gluten had not finished developing. Now I test at six minutes and almost always pull the dough at seven. The dough should also feel smooth and slightly tacky, never sticky, and it should spring back slowly when you press it with a finger.
When the dough passes the test, I turn off the mixer, tilt the head up, and lift the dough out with lightly floured hands. It comes out in one piece, which is the sign I am looking for. I shape it into a rough ball, seam side down, and put it in a lightly oiled bowl for the first rise.
Step 4: Rise, Shape, and Rise Again
I cover the bowl with the same kitchen towel and let the dough rise somewhere warm but not hot. In my kitchen, that is the top of the refrigerator, which is out of the way and reliably a few degrees warmer than the counter. The first rise takes about an hour and a half in my house, but I do not watch the clock. I wait until the dough has doubled and a floured finger pressed into it leaves a dimple that stays.
Then I turn the dough out onto a lightly floured counter and shape it. For a free form loaf, I fold the edges into the middle, flip it seam side down, and cup my hands around it to build surface tension. For sandwich loaves, I do the same thing and drop it into a loaf pan. This shaping takes me about a minute and a half, and it is the only part of the process that asks anything of my arms.
The second rise is shorter, about forty five minutes. I cover the shaped dough with the towel again and let it proof until it looks puffy and has risen about an inch above the rim of the pan, or until a gentle poke leaves a slow spring back. This is the point where the dough is one wrong move away from deflating, so I am careful not to slam the oven door or set anything heavy on the counter.
Step 5: Bake With Steam and Cool on a Rack
About thirty minutes before I expect the second rise to finish, I move the oven rack to the middle and put a shallow metal pan on the bottom shelf. I preheat to 450 degrees Fahrenheit, and when the dough is ready, I slide the loaf in and pour about a cup of hot water into the pan below. The steam keeps the crust from setting too early, which gives the loaf its rise in the oven.
I bake free form loaves for about thirty five minutes, until the internal temperature reads about 200 degrees on an instant read thermometer. Sandwich loaves take a little less. If the top is browning faster than I like, I lay a piece of foil loosely over it, but I do not open the oven door for the first twenty minutes no matter how curious I am.
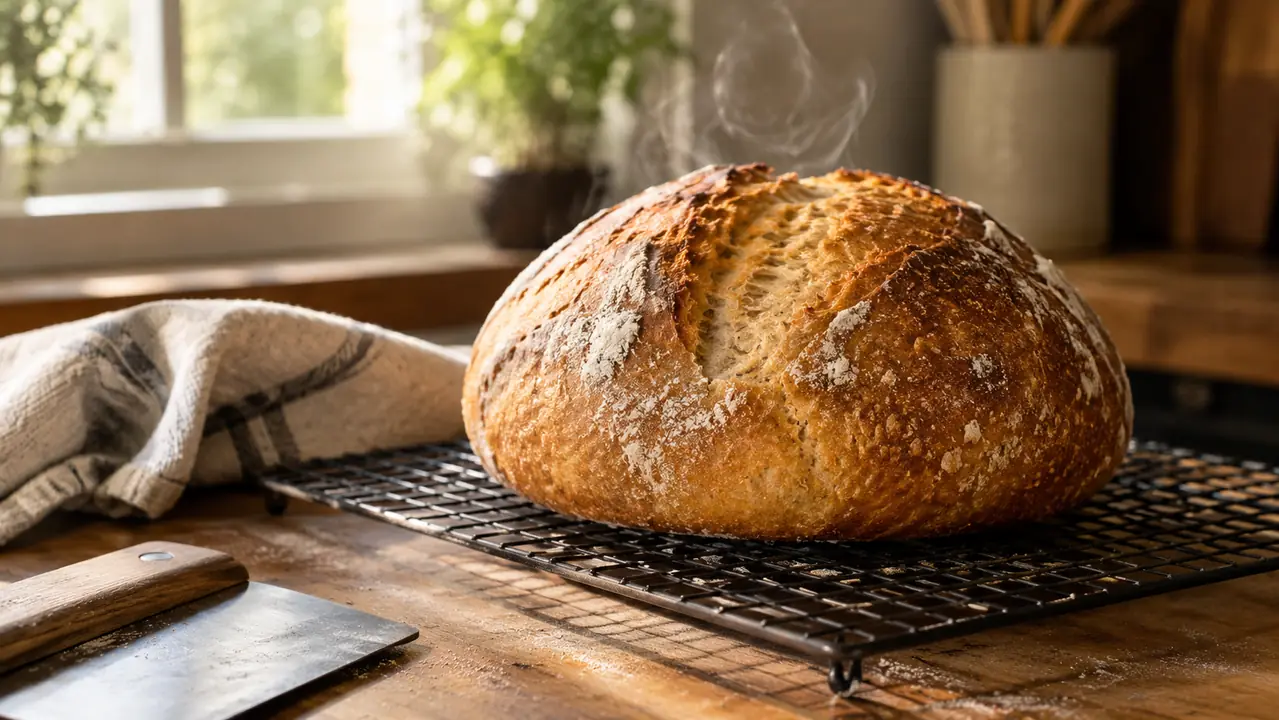
When the loaf comes out, it should sound hollow when you tap the bottom, and it should have a crust that crackles as it cools. I move it to a wire rack immediately. Cutting a hot loaf smashes the crumb, so I wait until it is completely cool, which is the hardest part of the whole recipe. By this point my arms have done maybe five minutes of total work, and the mixer did the rest.
What Else Helps
The mixer does the heavy lifting, but a few cheap things make the whole routine smoother. A digital kitchen scale means I measure flour by weight instead of cups, which is the single biggest improvement I have made to my bread in fifteen years of baking. A bench scraper makes turning sticky dough out of the bowl and folding it on the counter much neater than my fingers ever were. And an instant read thermometer takes the guesswork out of doneness.
Cleanup with this mixer is genuinely easy. The bowl lifts off, the dough hook pops out, and both wash up quickly in warm soapy water. The stainless steel bowl does not hold onto odors, and the coated hook releases the dough instead of collecting it. The mixer itself wipes down with a damp cloth. It is about 14 inches deep and 14 inches tall, so it fits under my upper cabinets with room to spare, and at 22 pounds it stays put while it works.
The mixer itself is a simple machine: a 275 watt motor, 10 speeds, and metal construction that has handled everything I have put through it. It came with a one year limited warranty, and the removable bowl and included tools mean nothing about it is precious. I do not treat it like a display piece. It sits on my counter with flour dust on the base most weeks, and that is exactly what I want from it.
Six minutes on speed 2, one scrape down halfway through, and the dough passed the windowpane test while my arms did none of the work.
That is the whole method. The mixer kneads, I watch, and the bread gets made on a Tuesday night instead of waiting for a weekend when my arms feel up to it. If you are still pressing dough into the counter by hand, this is the upgrade that actually changes how often you bake.
Let the mixer earn its place on your counter
The KitchenAid Classic Series 4.5 Quart Tilt-Head Stand Mixer has kneaded every loaf I have baked for the past year and a half. If your arms are the reason bread only happens on weekends, this is the fix.
Amazon Check Today's Price on Amazon →