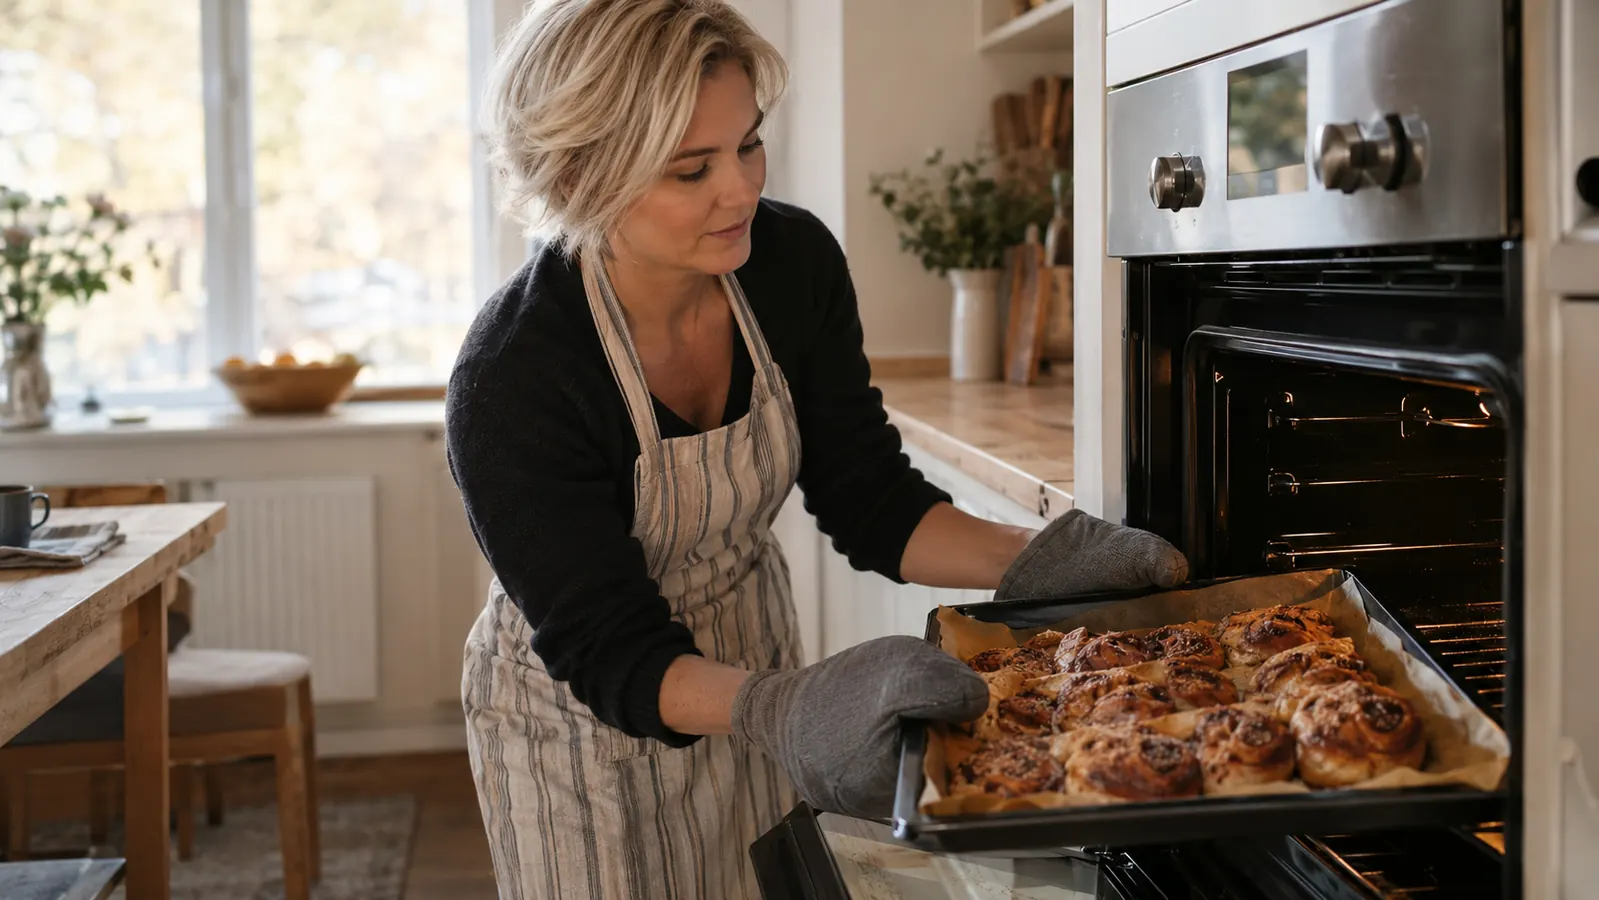
You set the dial to 350 and you trust it. Then the cookies spread too flat, the banana bread browns on the bottom, and the cake sinks in the middle, and you start wondering if you are the problem. Fifteen years of weekly baking taught me that the oven is usually the problem. My standard electric oven runs hot on the left side and cool on the bottom, and I only found out because I finally stopped guessing.
The fix does not require a repairman or a new range. It requires one honest thermometer, a Saturday morning, and about forty minutes. I use a Taylor Analog Oven Thermometer, a simple stainless steel dial thermometer that reads from 100 F to 600 F, and it has saved more batches than any other tool in my kitchen. Here is exactly how I check my oven, how I adjust for what I find, and when I call it good enough.
Start With a Thermometer You Can Trust
Every check starts with one honest reading. The Taylor Analog Oven Thermometer reads from 100 F to 600 F, covers slow roasting and high-heat baking, and costs less than most of the ingredients in one failed cake. It is the tool I reach for first.
Amazon Check Today's Price on Amazon →Step 1: Put the Thermometer in the Right Spot
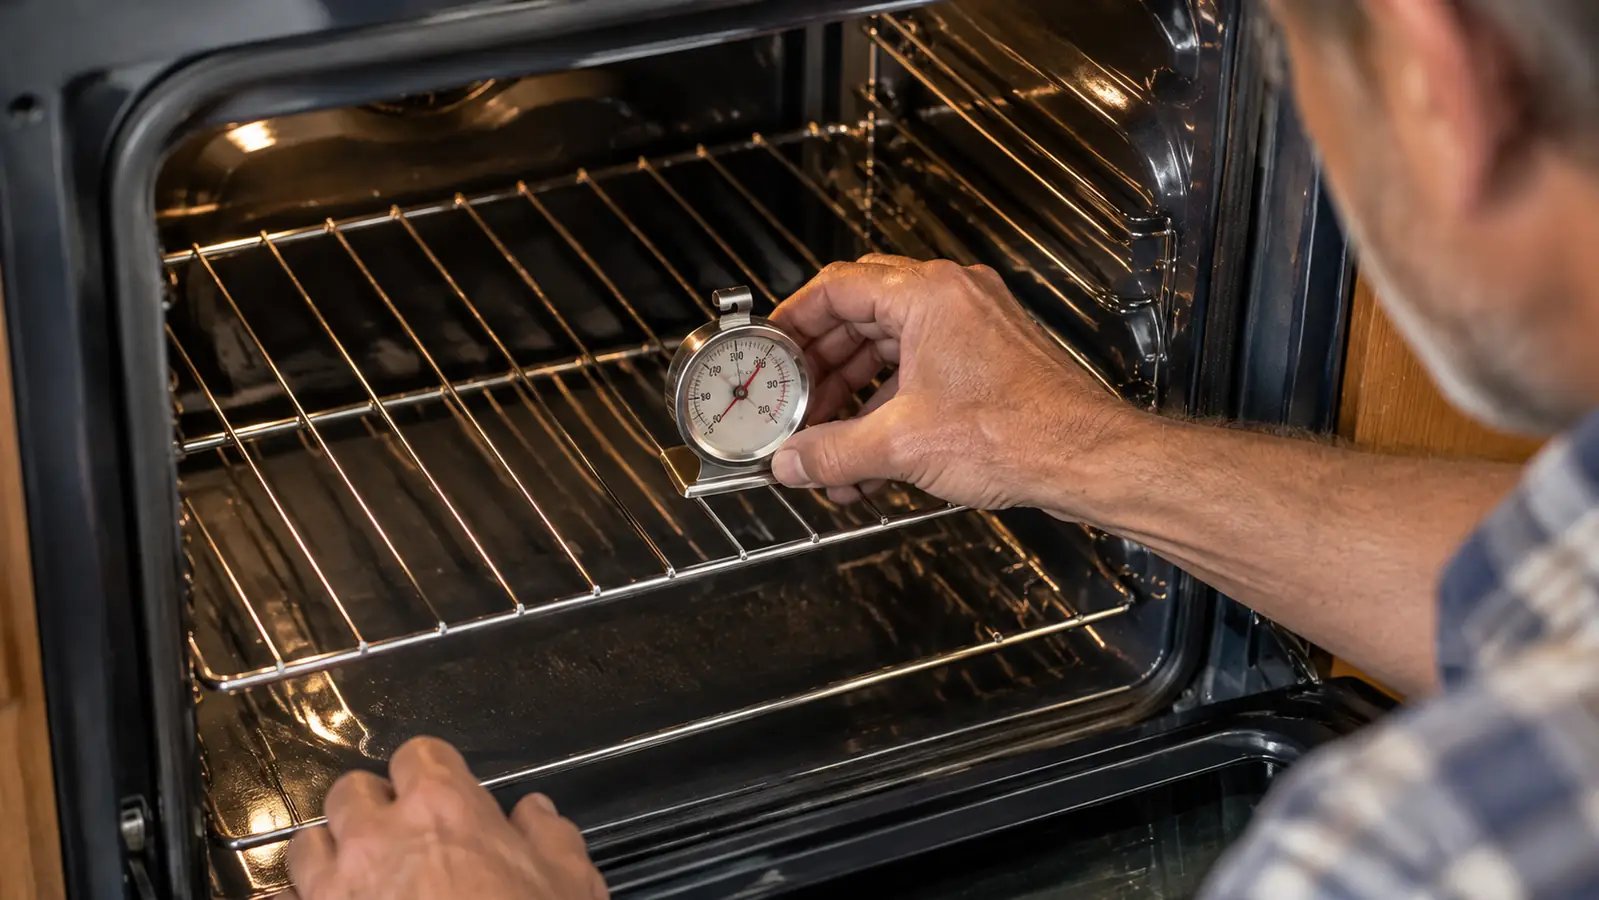
Placement matters more than people think. I put the thermometer on the middle rack, toward the center but not dead center, because that is where most of my baking actually happens. If you bake on the upper third for broiling or the lower third for pizza, run a separate check there later. One check per rack position is plenty for a first pass.
Make sure the thermometer is not touching the rack below it, the back wall, or anything else metal. It needs to read the air around it, not the heat of the oven wall. I set mine on a small cooling rack so it sits above the oven rack with air moving underneath, and that gives me the most honest number.
The Taylor thermometer comes with an instruction manual and needs no setup beyond placing it. It is battery powered, which sounds odd for an oven tool, but the battery drives the fast reading system, and the dial itself is plain analog. No app, no Wi-Fi, no pairing. That is exactly why I reach for it: it does one job and does it without fuss.
The first time I did this, I set the thermometer on the middle rack, closed the door, and stood there feeling foolish. That was a Saturday in late October, the morning before the school bake sale, after a batch of sugar cookies came out pale on the edges and scorched on the bottom. I had blamed the recipe, then the flour, then myself. It was my daughter Nora who finally said the oven ran hot, and she was right. I placed the Taylor thermometer in the center of the rack, exactly where the cookie sheets sit, and decided to let it tell me the truth. I did not trust the number at first. That is part of the process. You have to let the tool earn your trust before you can trust your oven, and that takes one honest reading placed where your pans actually sit.
Step 2: Give the Oven a Full Preheat
An oven that says it is preheated is not the same as an oven that has actually settled. The heating element cycles on and off, and the temperature swings around the set point before it calms down. If you check too early, you are measuring the swing, not the steady state.
I preheat to 350 F and then set a timer for twenty extra minutes. That is longer than the oven light says I need, and it is worth it. By the time the timer goes off, the oven has cycled several times and settled into its actual rhythm. I also leave the door closed the whole time, because every time you open the door you reset the clock.
This is the step most people skip, and it is the step that makes the whole test meaningful. A reading taken ten minutes after the beep tells you what the oven is doing in the first excited minutes. A reading taken after a full settle tells you what it will do to your cake for the next hour. The second number is the one you bake by.
The first time I skipped this step, I learned the hard way. I had preheated to 350, heard the beep, and slid in a banana bread while the element was still cycling hard. Twenty minutes later the top was set, the bottom was dark, and the middle was still raw. The thermometer, had I checked it, would have shown the oven swinging between 390 and 320 during those first minutes. Now I set the timer for twenty extra minutes and I do not open the door. I use that time to measure ingredients, butter the pans, and line up the cooling racks. I also learned to trust the beep less, because the oven light and the element do not tell you what the air is doing. By the time the timer goes off, the oven has cycled through its swings and settled near its true temperature, and the bread goes into a stable oven instead of a wild one.
Step 3: Read the Dial and Write It Down
Open the door just long enough to read the dial, then close it. The Taylor thermometer has a large, colorful dial with clearly marked zones and a resolution of 50 F, which is coarse, so read it to the nearest mark and do not try to invent precision it does not have. If the needle sits between 325 and 350, call it around 340 and move on.
Write the number down. I keep a small notebook on the shelf above my mixer, and it now holds three years of oven checks. The notes look like this: 350 set, 370 actual. 375 set, 390 actual. Left side runs hot. Bottom rack runs cool. Those notes are what turned my oven from a mystery into a known quantity.
Take three readings, about ten minutes apart, and write down all three. The first tells you about the warm-up, the second about the swing, and the third about the steady state. The steady number is the one you adjust for. If the three readings are wildly different, the oven may have a bigger issue, and that is worth a service call rather than a workaround.
The notebook has become a small history of my kitchen. The first page, from that October morning, still has the pencil marks I made before I trusted them. The next page adds a line from a pizza night: 500 set, 520 actual, and the stone needs a full hour. By the third year the pages show a pattern: the oven drifts a little hotter every summer and settles back down by December. Without the notes I would have to rediscover that every single season. With them, I know before I preheat. I also learned to read the dial the same way every time, from straight on, at eye level, so the angle of my head does not add another guess to the number. I read it twice, once the moment the door opens and again a few seconds later, because the oven loses heat fast and the first number is the one that counts.
Step 4: Adjust Your Baking, Not the Oven
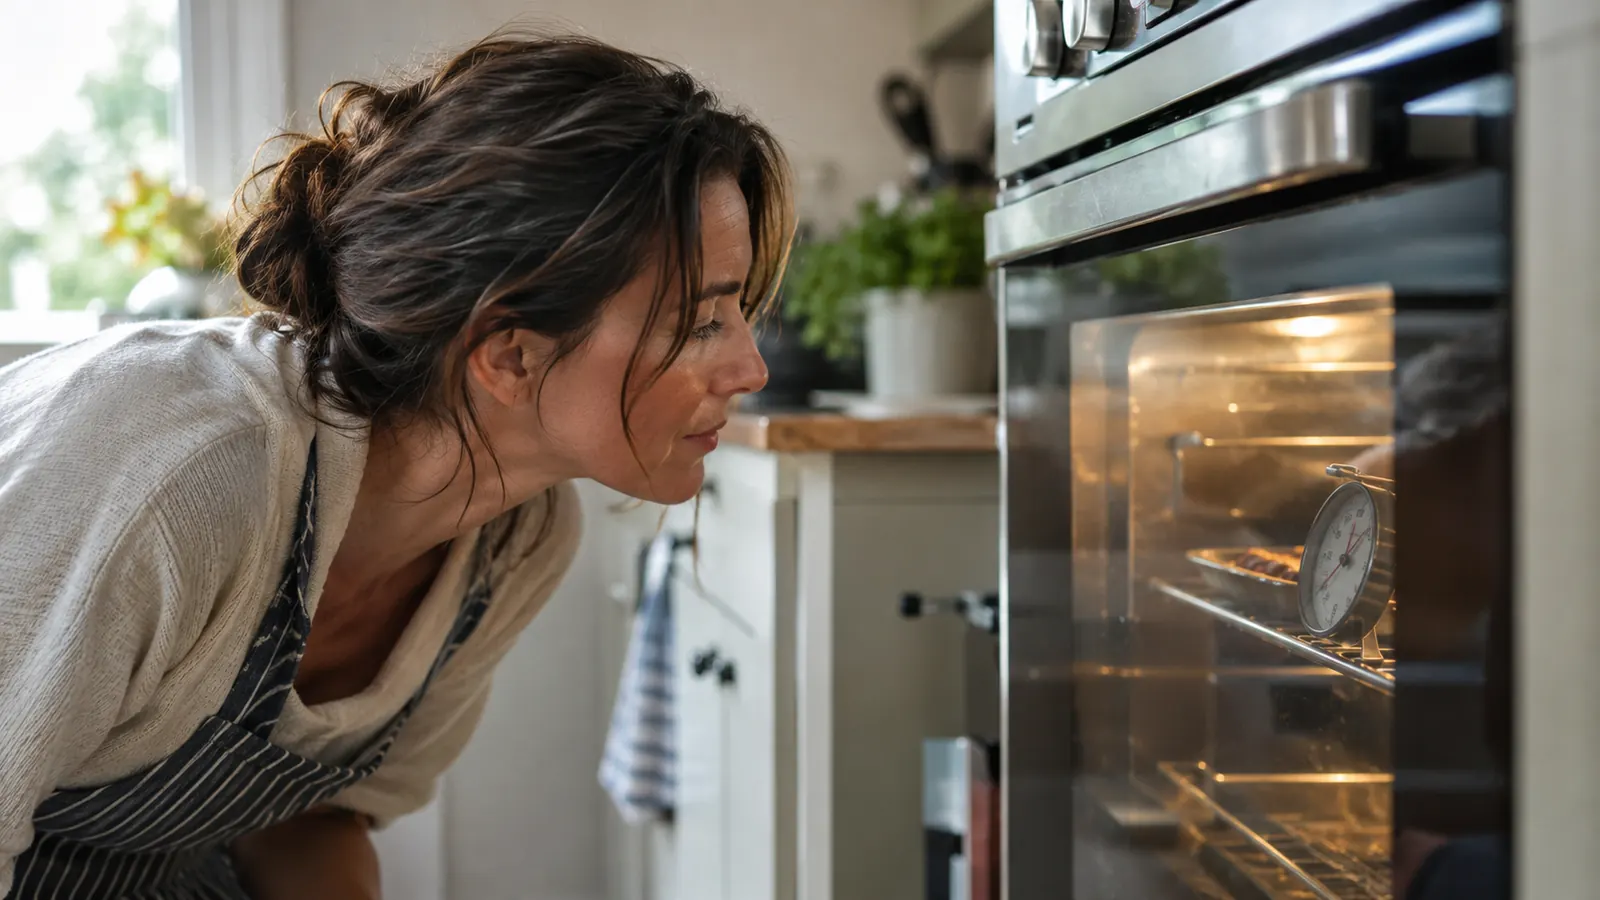
Most home ovens cannot be calibrated by the owner, and many should not be. The honest fix is to learn your oven's personality and bake to it. If my oven runs 20 degrees hot when set to 350, I set the dial to 330 when a recipe calls for 350. I do not change the recipe, I change the dial.
Hot spots are a second adjustment. My oven's left side runs hot, so I rotate pans halfway through baking, and I position cake pans slightly to the right of center. A thermometer tells you the average temperature, and a little experience with your own pans tells you the rest. Both are worth having.
For high-heat baking, the same logic applies. The Taylor thermometer reads accurately from 100 F to 600 F and from 50 C to 300 C, so it covers everything from a slow roast to a hot pizza stone. I check the upper range the same way I check the middle: preheat fully, read the dial, write it down, adjust the dial to match.
The adjustment changed my baking more than any new pan ever did. The clearest example is my standard birthday cake, the one I have made for every family birthday since Nora turned six. For years it came out with a dome on one side and a dip on the other, and I assumed my batter was uneven. Once I knew the left side runs hot, I started rotating the pan at the halfway mark and shifting it a few inches to the right of center. The next cake came out level. The one after that came out level too. It was not a skill I suddenly gained. It was a temperature problem I could finally see. I do the same with bread: I turn the loaf once, about halfway through, and the crust browns evenly instead of scorching on one side. The difference showed up in the crumb, even and tender all the way across.
Step 5: Recheck Twice a Year and After Any Change
Ovens drift. The calibration that held in January can be off by July, especially after a hot summer or a heavy holiday season. I recheck mine twice a year, once in late fall before the cookie marathon and once in early spring before the cake season picks up. It takes forty minutes and costs nothing.
I also recheck after anything changes: a repair, a move, a new element, even a deep clean. Any of those can shift the oven's behavior, and the old notes stop being reliable. The good news is that the check is always the same five steps, and the thermometer lives in the oven drawer between checks so I never have to hunt for it.
One care note from the manual: do not put the thermometer in the dishwasher. The outer material is glass and stainless steel, but the inside is not built for that. I wipe mine with a damp cloth, dry it, and put it back in the drawer. It has lasted me through years of weekly baking with no sign of wear.
What Else Helps
A thermometer is the foundation, but a few habits make it go further. An oven light that actually works, so you can peek without opening the door. A reliable timer that you set every single time, even for a five-minute preheat. And a cooling rack in the oven, so air moves under your pans and the bottom of your cake does not scorch. None of these are fancy. They are the difference between baking by hope and baking by knowledge.
If you bake a lot, consider a second thermometer for the upper rack, because the top of the oven is often a different world from the middle. I keep my Taylor in the middle and borrow a second one when I am doing a big batch of sheet cakes. Two readings are better than one, and the habit costs nothing.
The day I wrote down my first real oven reading, 370 when the dial said 350, I stopped blaming my recipes and started fixing my baking. That one number changed more of my bakes than any new pan ever did.
Know Your Oven, Then Trust It
You do not need a new range to bake better. You need one honest number, and the Taylor Analog Oven Thermometer is the simplest way to get it. Read the dial, write it down, adjust your dial, and get back to baking.
Amazon Check Today's Price on Amazon →